Once Microsoft SQL Server as well the other prerequisites are installed, you can now download the RentalPoint installation package. Please keep in mind that the full installation download is, by default, missing the license file (prodref.hdl). This is intentional and the installation will not work until you have installed the license file manually. It is likely that you have already received a license file in an email from us. However if for some reason you have not received it, you can request another copy by emailing support@rentp.com.
(If you are unsure of your network setup, please refer to step one above)
In the event that you are not familiar with installing software, either on a server or workstation, please have an IT person or a RentalPoint Software sales or support associate assist you in installing the software.
Download the latest release of Rentalpoint Software from www.rentp.com using the download password provided to you.
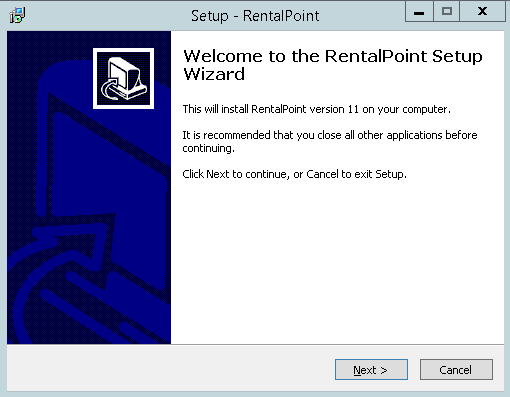
- Launch the installer and click “Next >” button.
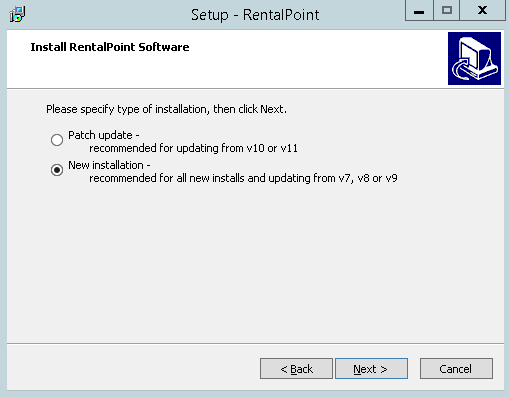
- Select ‘New installation’ and click “Next >” button.
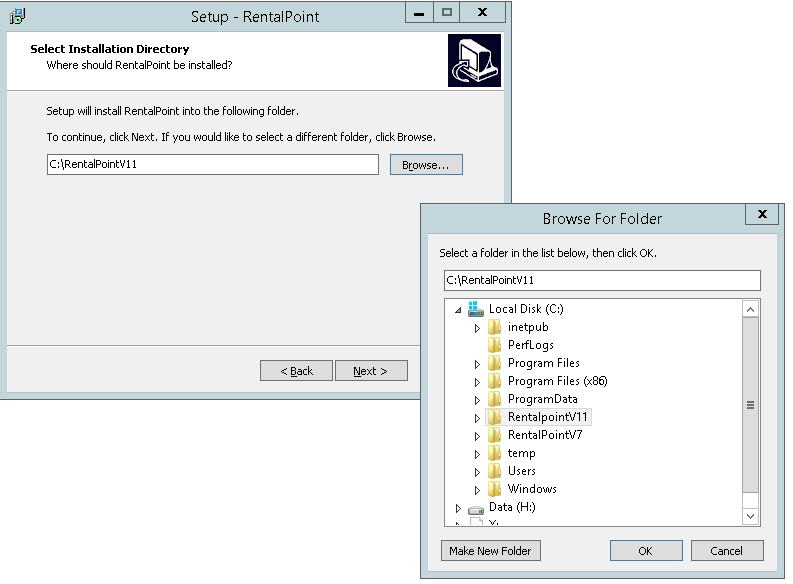
- If you don’t want to use the suggested folder, click “Browse…” to select an alternate destination for the software. Click “Next >“ button.
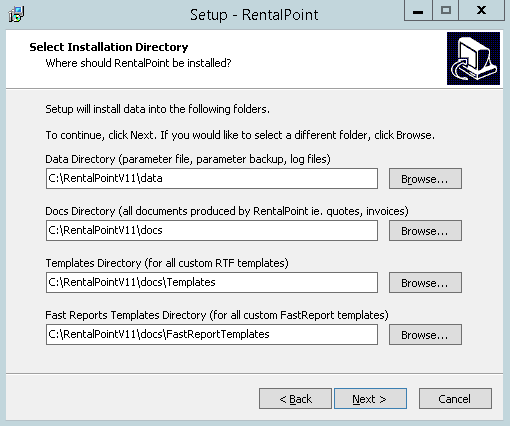
- Select a folder for each component of RentalPoint Software listed below.If setting up in a network environment where many people will be running Rentalpoint, be sure to choose SHARED folders that you can permit FULL access for all users. Click “Next >” button
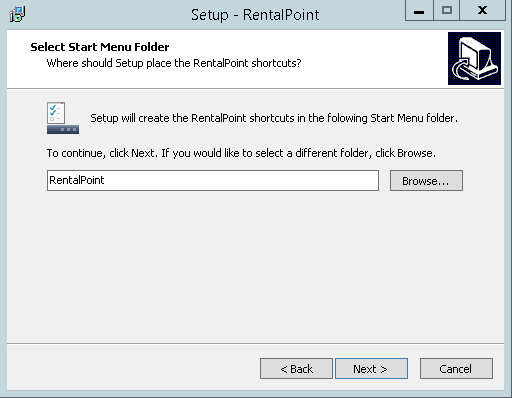
- Select Start Menu Folder. Click “Next >” button.
- Select additional icons. Click “Next >” button.

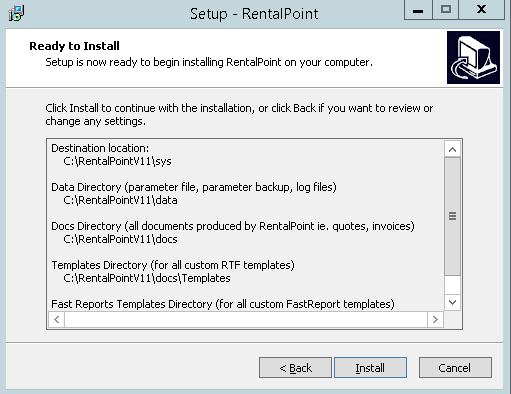
- In “Ready to Install” page click “Install” button.
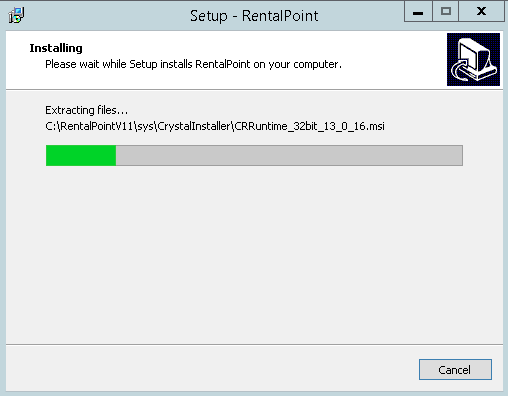
- You can see installation progress
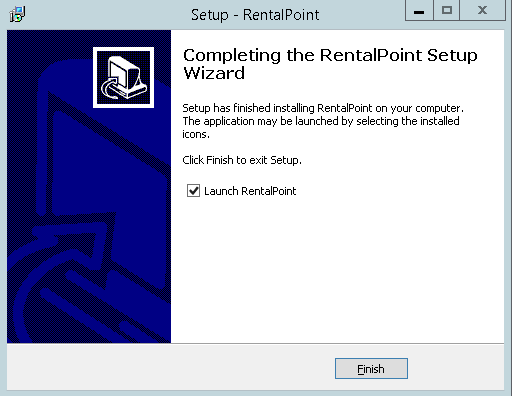
- For finish installation please click “Finish” button.
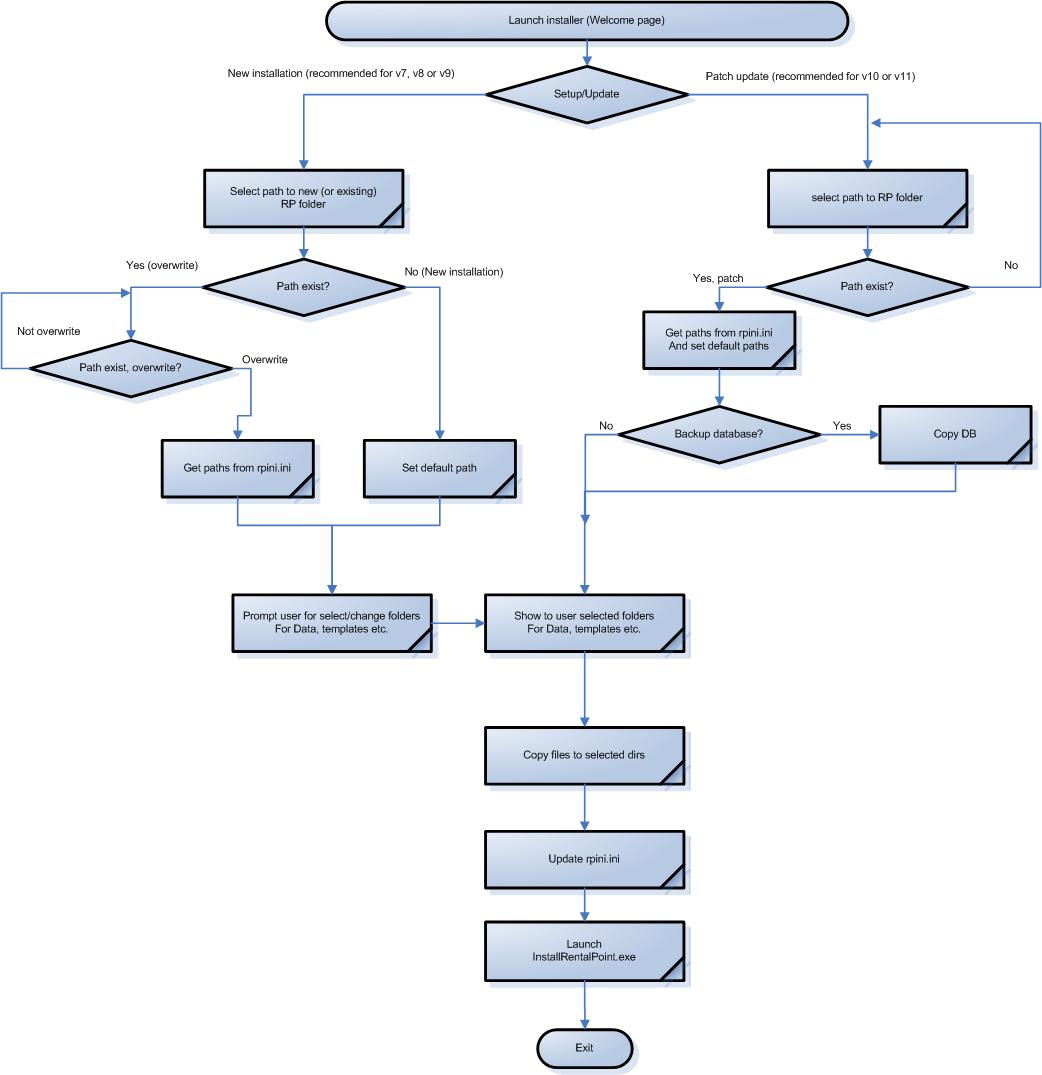
Installation steps diagram.