RentalPoint recommends the full version of SQL Server; and minimally the 2008 version. A free version is available online (SQL Express), however it limits the size of a database to 1 GB. SQL Express also will not utilize multiple CPU’s, should the server have them, resulting in a possible degradation of performance.
A Windows User Group is recommended for providing access to the database. A default installation of SQL Server restricts remote access to the server instance. Default database roles and privileges need to be opened up to all RentalPoint users. Both NT Authentication and SQL Authentication logins are supported. These changes are generally made using the Microsoft SQL Server Management Studio utility, available for download online.
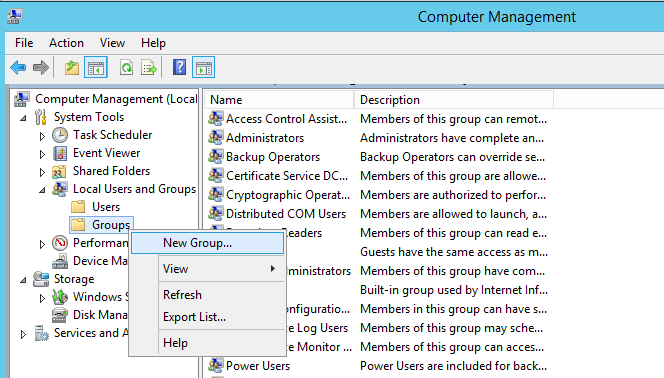
Set up the windows user group in Computer Management
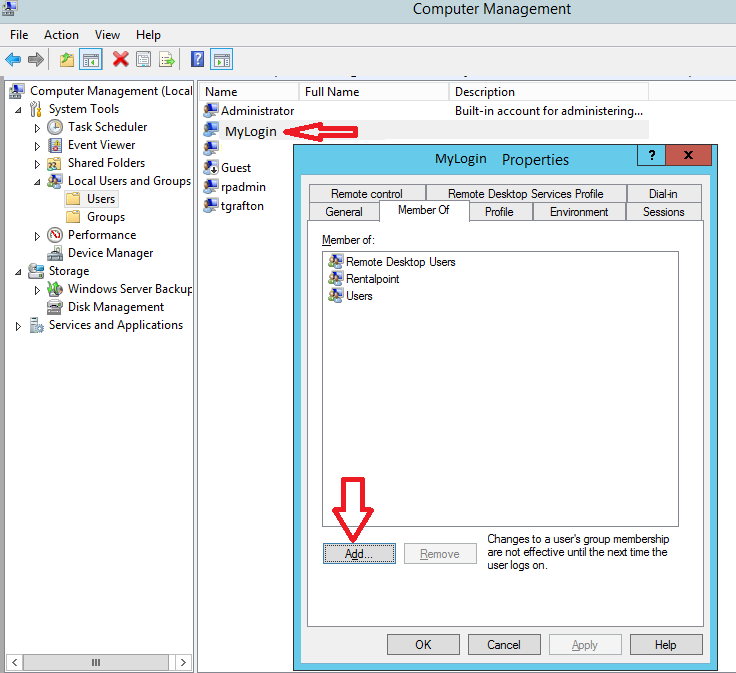
Then edit each user login, 'Member of' tab and make each user a member of the RentalPoint Group
- Open the Server Management Studio utility.
- Connect to the server instance that RentalPoint is installed on by selecting the server from the drop down list and clicking Connect.
- Expand the folders in the left pane.
- Right click the Security folder and select New Login.

- Enter the login name. This should be the ‘RentalPoint’ Windows User Group that was set up in the previous step. Ensure the default database is set to the RentalPoint database.
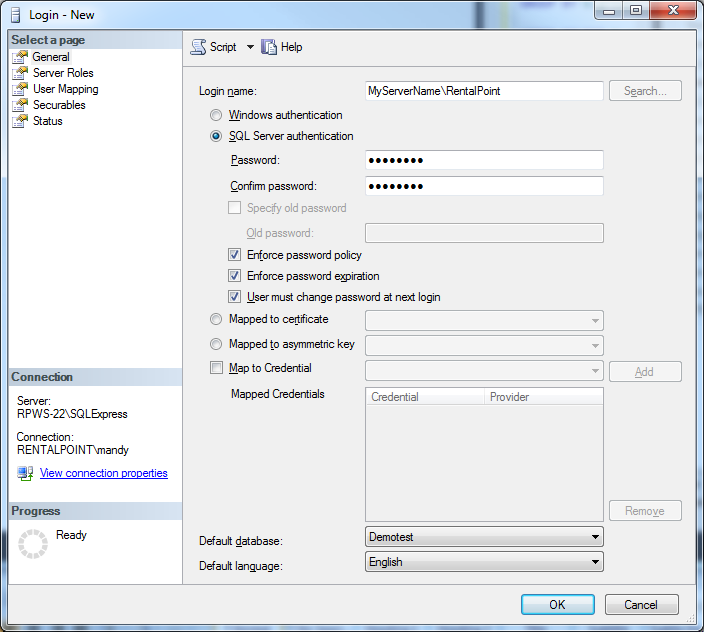

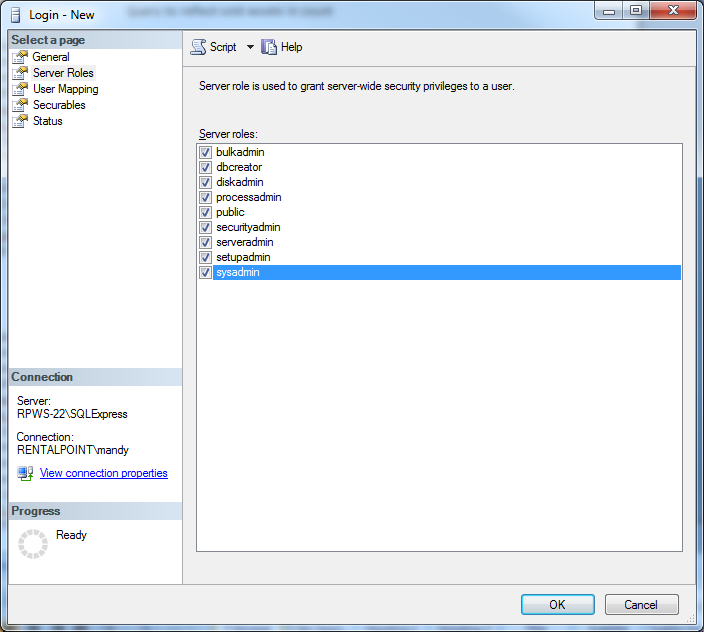
- Click on the Server Roles tab on the left pane. Ensure all roles are selected.
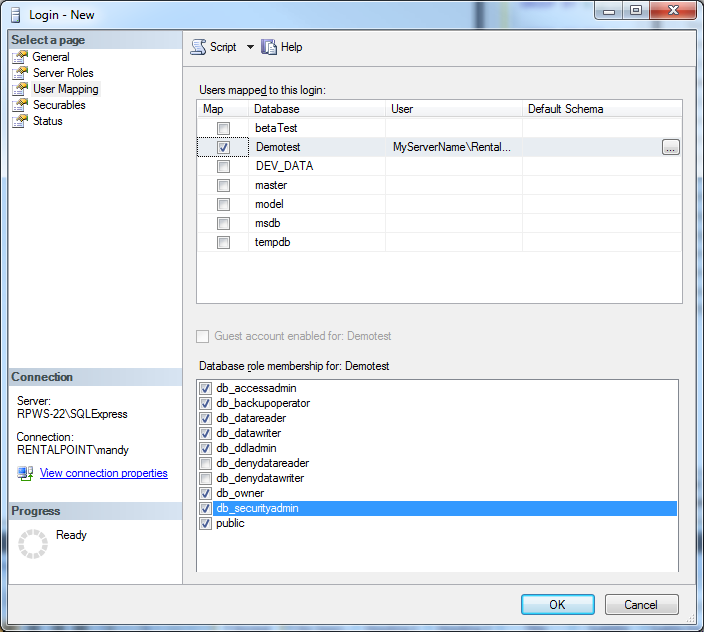
- Click on the User Mapping tab on the left pane. Tick the box next to the RentalPoint database. In the bottom half of the window, select all roles except db_denydatareader and db_denydatawriter.
- There are no changes to the Securables or Status tabs. Click OK to save your changes.


TCP/IP protocol must be enabled on the server in order to allow connection to the database.
- From the Start menu launch the SQL Server Configuration Manager.
- Click Protocols for SQLServer (or SQLEXPRESS).
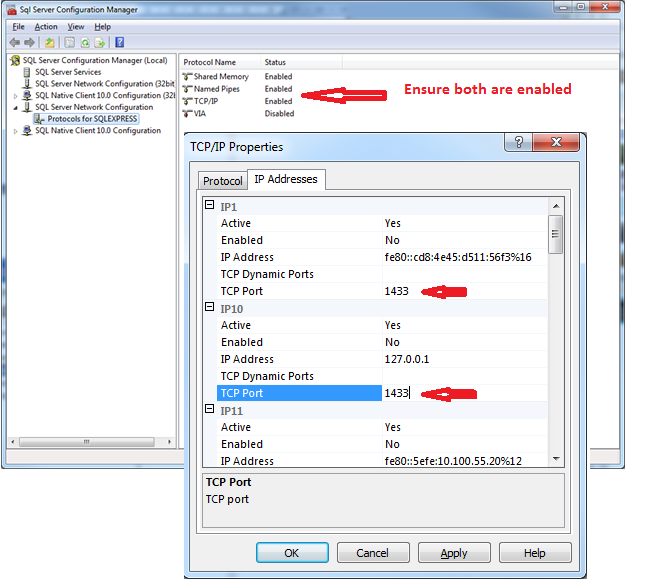
- Ensure Named Pipes and TCP/IP are enabled.
- Double Click on TCP/IP and go under IP Address Tab
- Confirm IP Address is correct for the server
- TCP Port should be 1433
- Dynamic Port should be blank
- You MUST Restart the SQL instance for changes to take effect
- How to Restart SQL Instance via SQL Server Management Studio (SSMS)
- In SSMS Registered Servers or Object Explorer, right-click the server instance you want to restart, and then click Restart.
A message box asks whether you are sure you want to restart SQL Server on the server instance you chose. - Click Yes.
A green arrow on the icon next to the server name indicates that the server restarted successfully.
- In SSMS Registered Servers or Object Explorer, right-click the server instance you want to restart, and then click Restart.
- Go to the Start menu and click run.
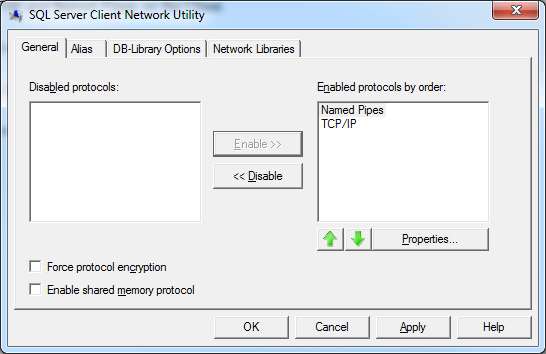
- Type in cliconfg.
- Ensure Named Pipes and TCP/IP are enabled.
Used when setting up client connection to your database, please ensure you have already checked and addressed your SQL Network Configuration settings.
In a Nutshell:
- Ensure the Firewall and any virus protection software is off on both the server and your local machine (once you get an approved connection you can turn it back on and poke a hole through for port 1433)
- TCP/IP and named pipes enabled via cliconfg - see page one of help doc at above link
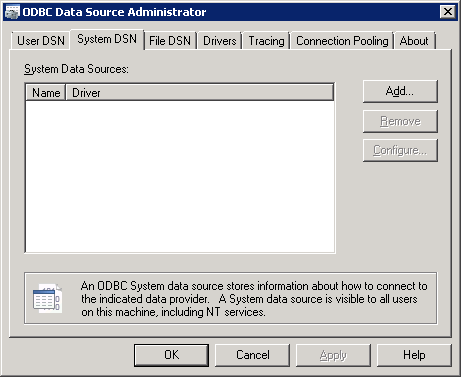
- Set up an Open Database Connection (ODBC) via System DSN ( NOTE: if using windows 8 you should set up both 32bit and 64bit ODBC connections)
- If using Workgroups for network then you must use SQL authentication and the username and password you have set up for this kind of access
- If using Domain access for network, you can use Windows Authentication
- If user cannot establish a connection to the database because of error with the SSPI context.
- Try switching from Windows auth to SQL auth.
- Follow MS Help article : https://support.microsoft.com/ru-ru/kb/811889
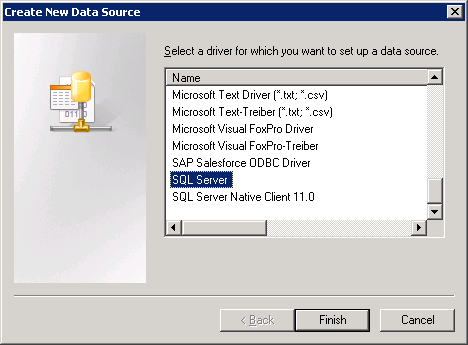
Set up an ODBC Connection:
Type ODBC at the start button/start menu on your Windows PC
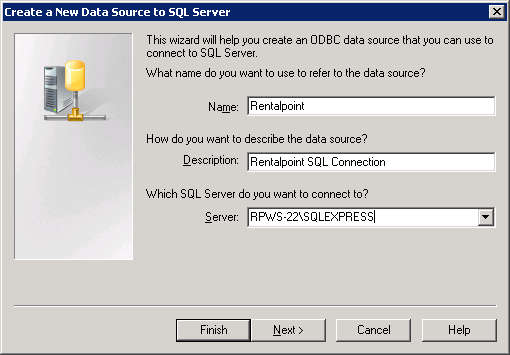
Key in the name of your SQL Server
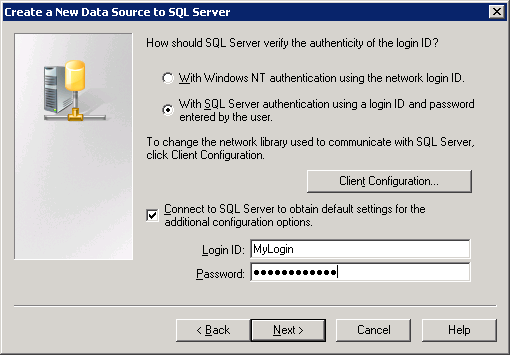
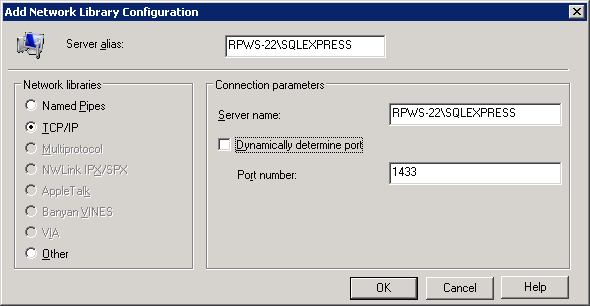
For Domain Access you can use Windows Authentication, then click Client Configuration
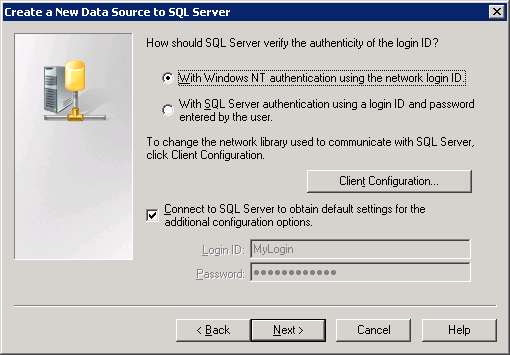
OR for Workgroup access use SQL Authentication, then click Client Configuration
Uncheck Dynamically Determine Port
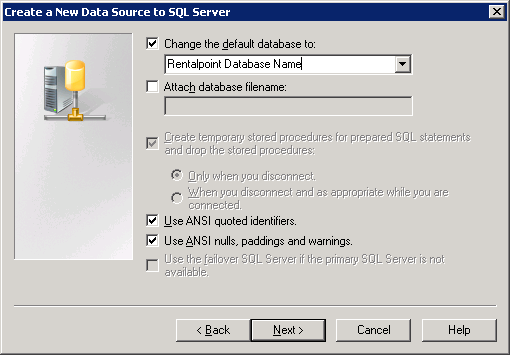
Optional – you can change the default database to your Rentalpoint Database name
Click Finish
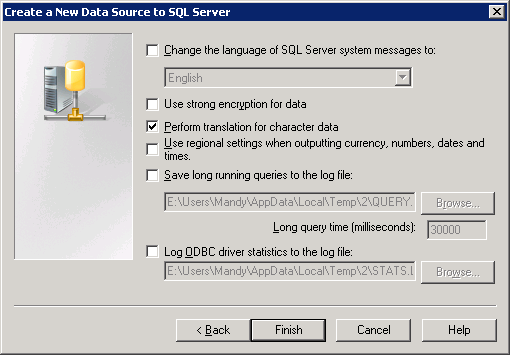
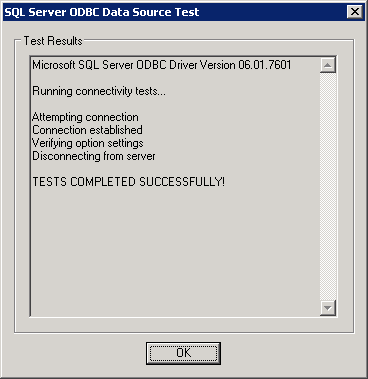
Then click TEST DATA SOURCE
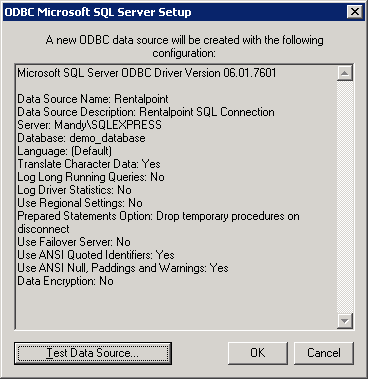
If you don’t get a SUCCESSFUL test then contact your IT person or support@rentp.com to troubleshoot.
Using SQL Authentication
If using SQL Authentication, follow the steps below
- From your RentalPoint\sys folder double click on DatabaseWizard.exe to launch

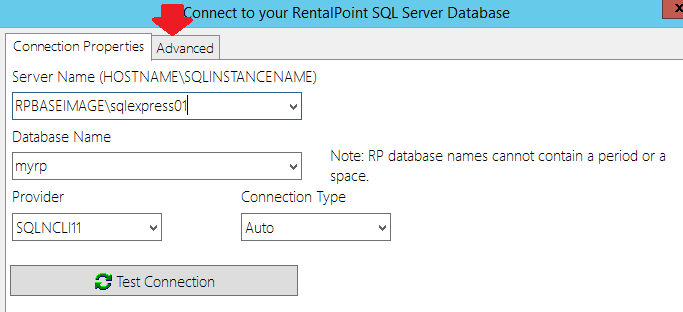
- Click on Find and connect to an SQL Server Database

- Enter the SQL Server name and Database name if needed, then click on the Advanced Tab
- Enter the login information to the SQL Server, then click on Connection Properties
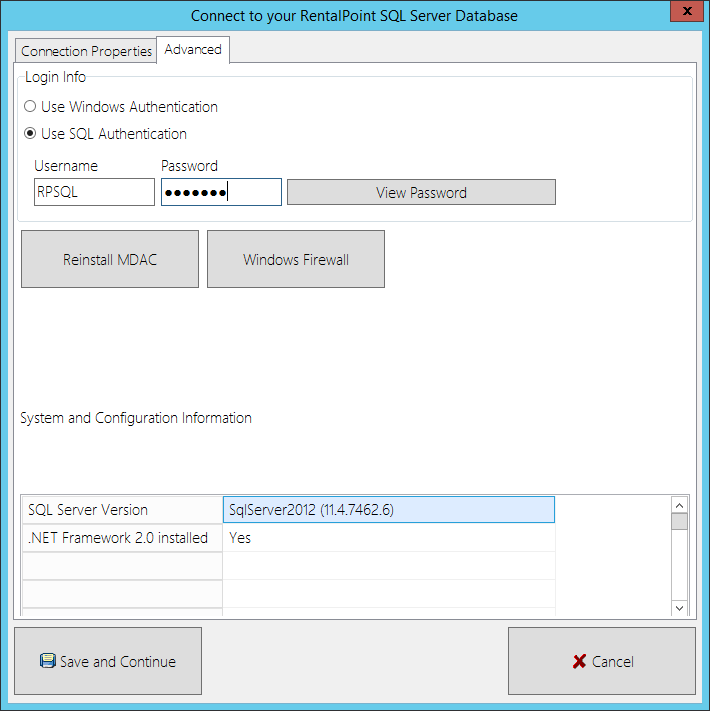


- Click


- A successful connection will show details as below, then SAVE and Continue
- If you don't get a successful connection, try changing your Provider in the dropdown OR double check your SQL password


Rentalpoint must run with the matching executables to the database version i.e. if your database is v12.0.0.2 then your executables must match that version.
- It may be easier to copy RentalPoint from an existing workstation since you can follow the same configuration. If this is not possible you'll need to Download the version of RentalPoint that matches your Database Version and configure it for use. Both options are detailed below
- RentalPoint will also need a PDF reader such as Adobe or FoxIT. Download and install whatever version you prefer, then Install RentalPointPDF
- Ensure the user has FULL access to data and docs folders on the server. They will also need write permission to the Windows Registry to store RentalPoint user preferences and write permission to the RentalPoint\sys folder to save RentalPoint configuration settings
- Once you have RentalPoint installed on your workstation you'll need to Set up Access to your RentalPoint Database from your Workstation
- You should now be able to run RentalPoint
Copy RentalPoint from an Active Workstation
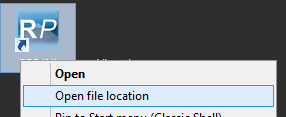
- On a workstation actively using Rentalpoint, right click on the Rentalpoint icon and Open File location. This will bring you to the Rentalpoint\sys folder
- Create the same RentalPoint folder (matching the name and location) on your new workstation. Copy the Rentalpoint SYS folder from the active workstation to your new computer, placing it into the same directory path on the new machine. This will copy the license file needed at the same time.
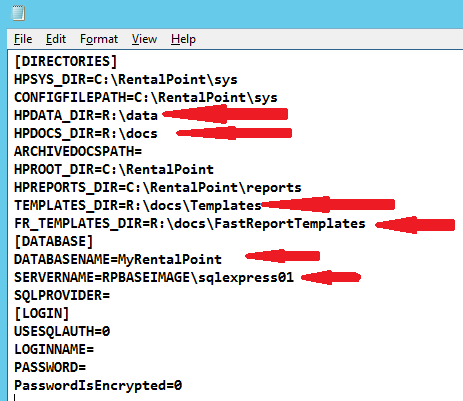
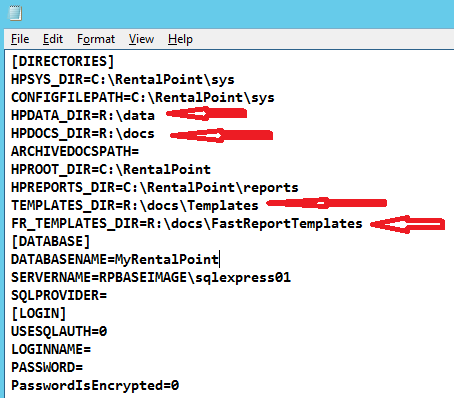
- On the new machine, edit the Rentalpoint\sys\rpini.ini file and make note of the paths used for DATA, DOCS and templates - these are usually mapped drives. You will need to set them up on the new machine .
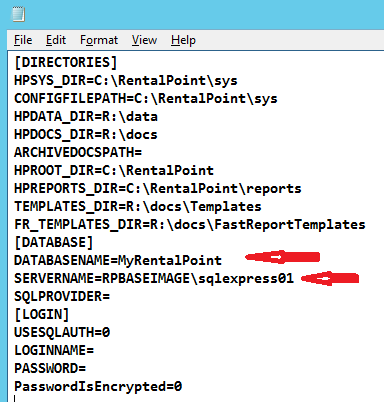
- Also make note of your DATABASE and SERVER name from your rpini.ini file, you will need these below to set up the ODBC connection on your workstation.


Download and Install RentalPoint from our Website
1. First, navigate to https://rentp.com/support/updates.php
2. Then, click on 'Download RentalPoint' and log in user your download password
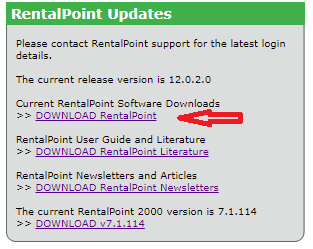
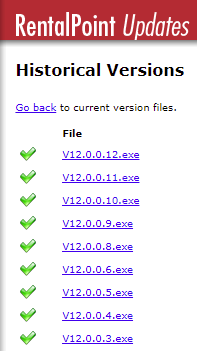
3. Next, download the version you need
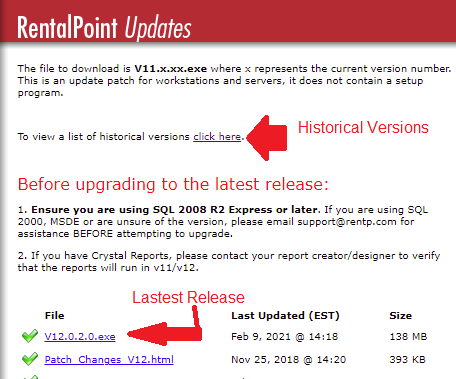
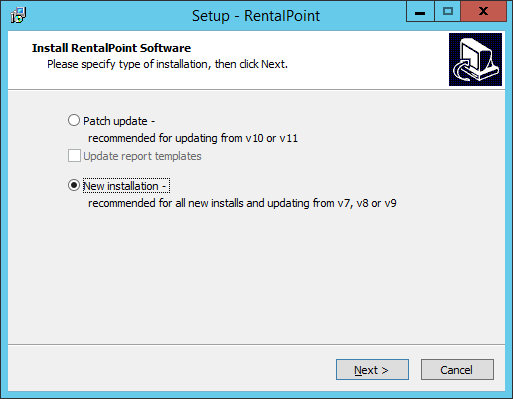
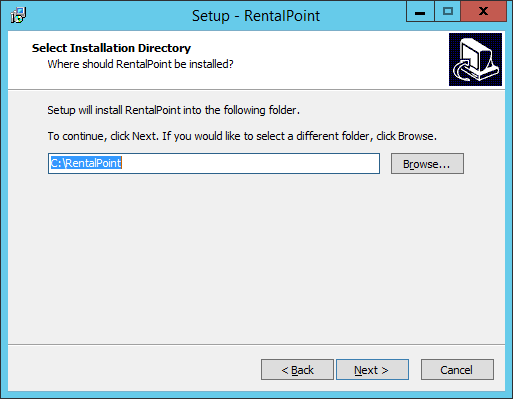
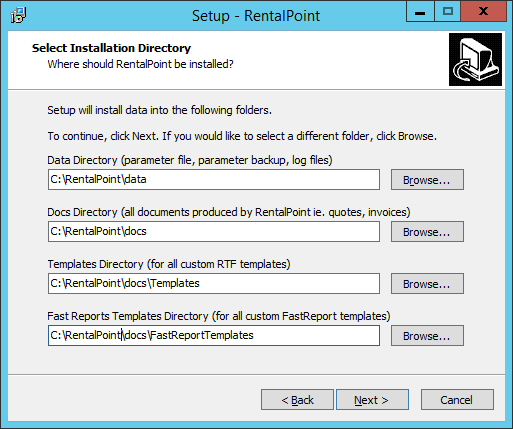
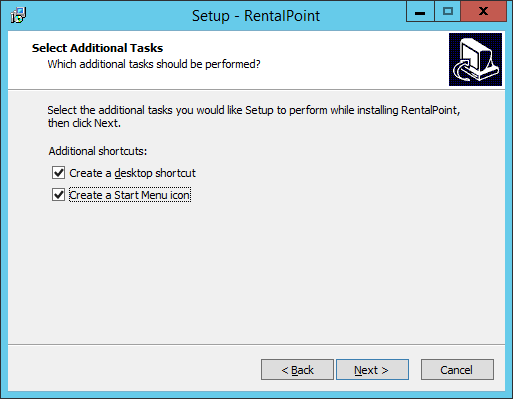
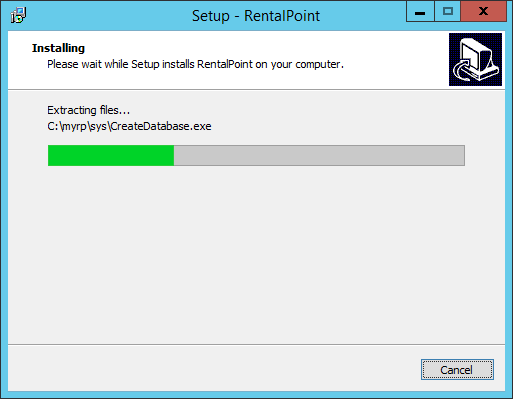
4. Double on the downloaded file to install and follow the prompts for a new installation
Click Re-Install
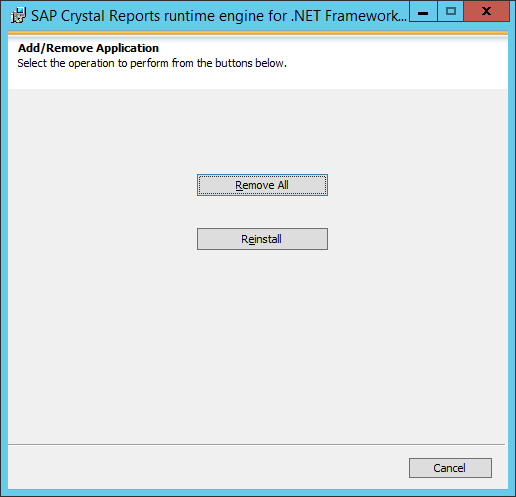
Click Finish
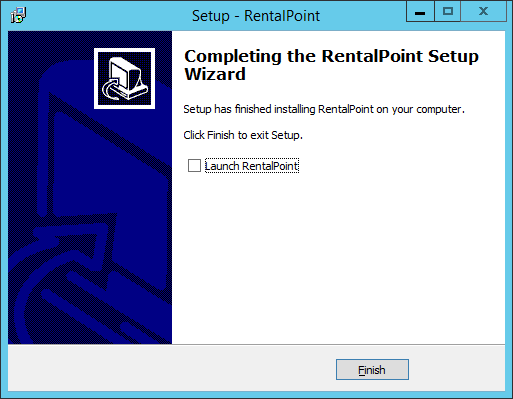
Uncheck 'Launch RentalPoint' and click Finish
You'll need to copy your RentalPoint license file to your RentalPoint\sys folder
Edit RentalPoint\sys\rpini.ini and configure RentalPoint, please contact support@rentp.com if you are not sure how to configure this file.
- Data, Docs and templates paths should point to your data and docs folders on the server
- Database is your RentalPoint database
- Servername is your SQL Server name