Overview
RentalPoint now offers functionality to build a Virtual Carnet for checked out bookings. Users can create a list of boxes/cases, allocate items to each case and either manually enter dimensions or have RentalPoint load dimensions from Inventory setup. Print the Carnet on completion for use as customs documentation when shipping internationally. Operator privileges control the level of user access to this functionality, here's how it works:
Accessing the Virtual Carnet
If you have trouble seeing this option, contact your RentalPoint administrator for the necessary permissions outlined in the 'Operator Privileges' section at the end of this article.
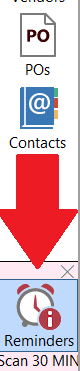
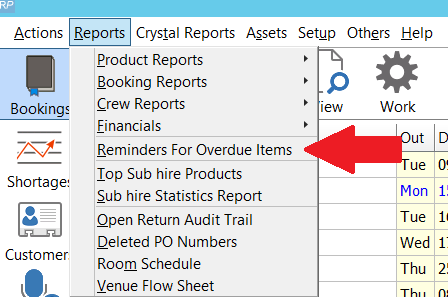
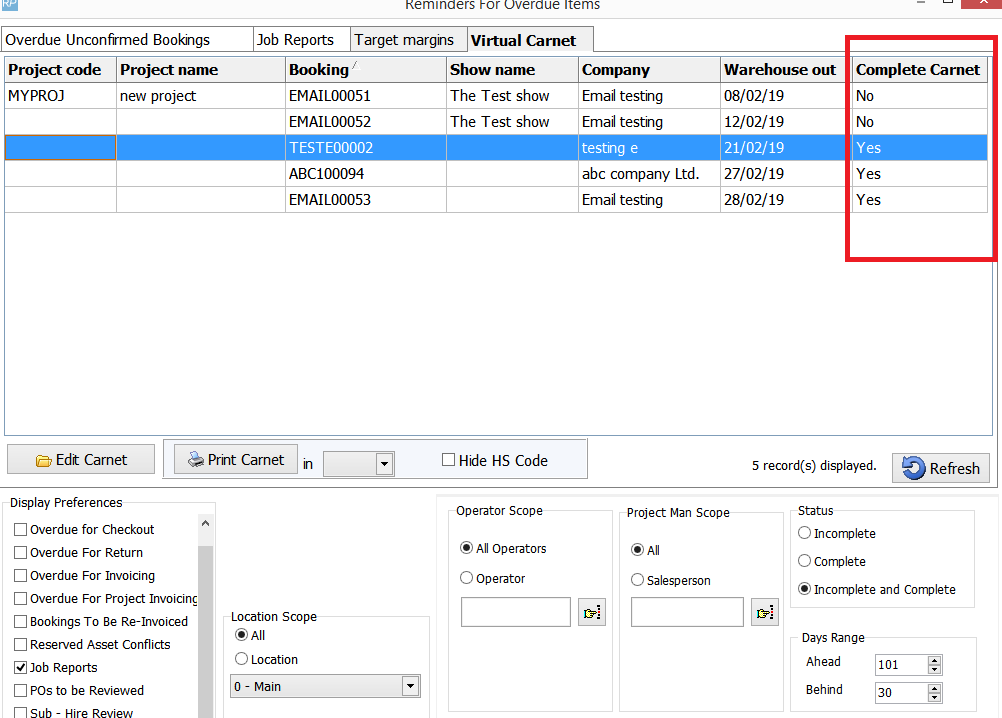
Once a booking has been checked out,
it will be available for Carnet build via the
'Reminder for Overdue Items' window via the left
main menu pane OR from the Reports menu
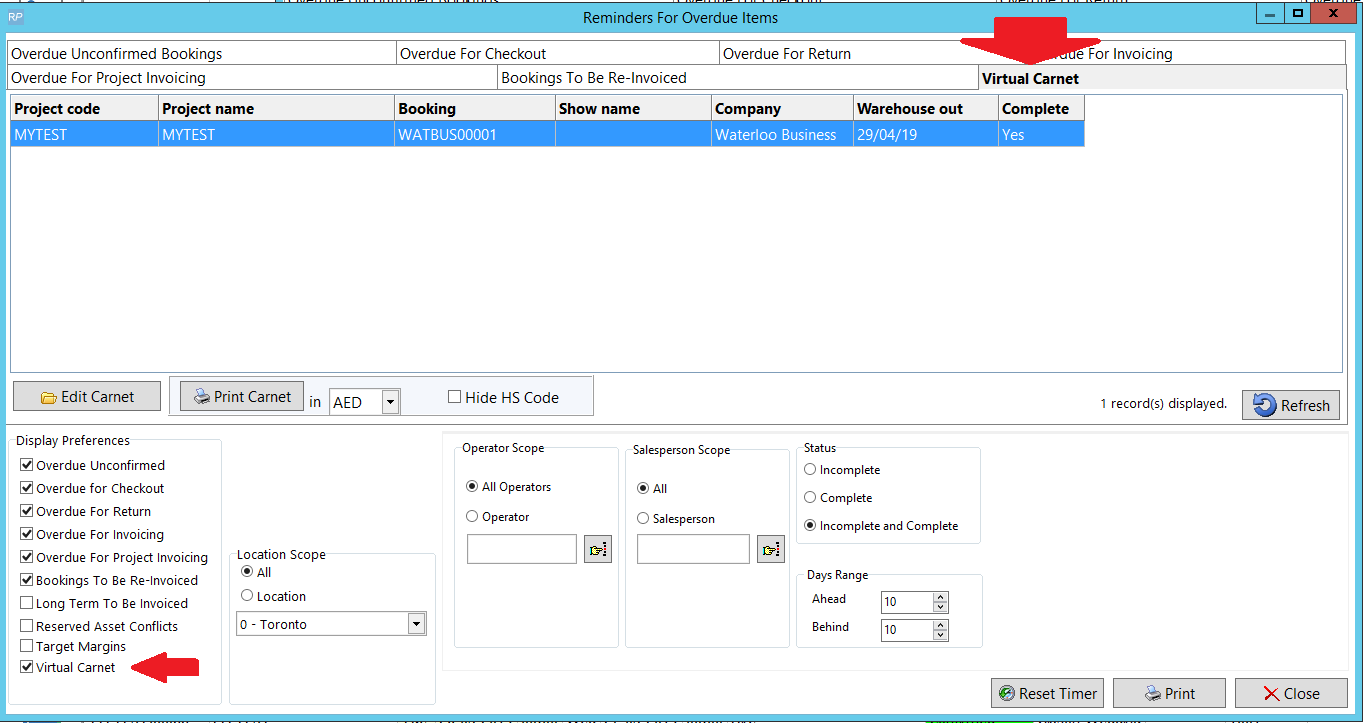
Once all items on the booking have been allocated to a box, the Carnet will be marked as Complete.
Carnet Scope
From the Reminder for Overdue Items-->Virtual Carnet tab, highlight the booking and click 'Edit Carnet' (see accessing the Virtual Carnet above for further illustration).
Working with a Booking or Project
- Multiple reports (Trips) can be defined for each project (or booking). Select the project or booking you would like to work with.
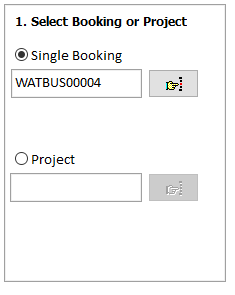
- When building projects, a single booking for the project will be loaded (into the next window) at any given time, however all checked out bookings will be available during the build.


Multi-User Editing
- Because locking only occurs at the Product Group level, Trips, Carnet boxes and Custom lines can be edited/added by any user. The current state will be loaded/saved immediately to and from the database.
Choosing your scope of work
- All Booking items belong to a Product Group in Inventory. Booking items can only be added or removed from the Carnet boxes when the Product Group they belong to is not locked by other users working on the same booking. Choosing a single Product Group to work with on a Virtual Carnet allows other users to work on a different Product Group for the same Carnet at the same time. Only choose
 (locking all Product Groups for the booking) if no other user needs to work on the same Carnet during your session.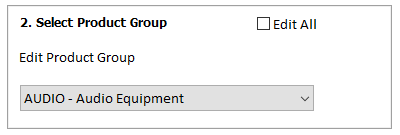
Single/Multi Trips
- Edit an existing trip or click the
 button in the ‘Select Trip / Carnet’ box to create a new trip. Click the
  button to apply the new trip name.
- The Trip (report) can be deleted as long as it doesn’t have any boxes/items attached by clicking the
 button.
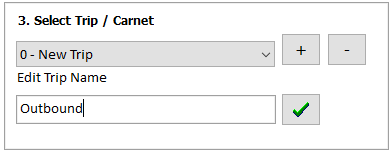
- The Trip (report) can be deleted as long as it doesn’t have any boxes/items attached by clicking the
 button in the ‘Select Trip / Carnet’ box to create a new trip. Click the
  button to apply the new trip name.
 button.
Values used for Carnet
The value of the carnet boxes for asset tracked items can either be taken from the asset or the product by selecting the option in the edit carnet window

The value is also an option when printing the report.

Click  to proceed
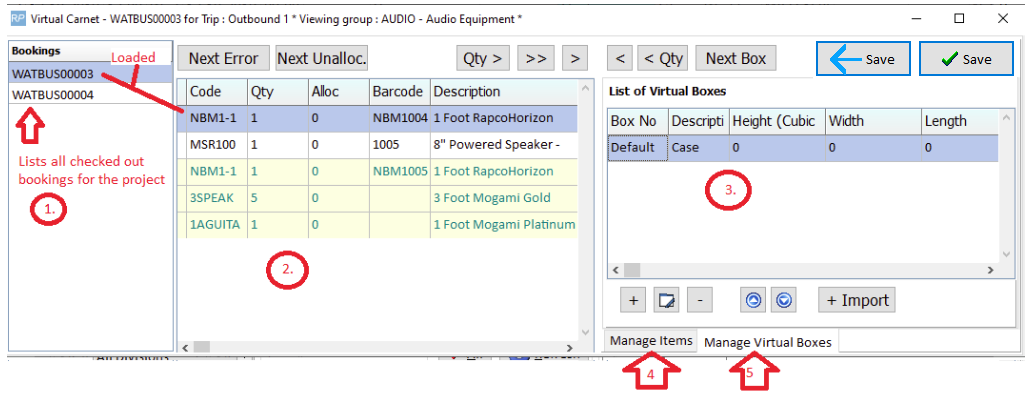
The Virtual Window
- Once scope has been selected, checked out bookings for the project will display in the grid on the left side of the screen. If a single booking is selected, this panel is not needed and will not display.
- Checked out items for the loaded booking will show in the next panel
- The window on the right hand side will display a single default box initially
- Add items to boxes from the 'Manage Items' tab
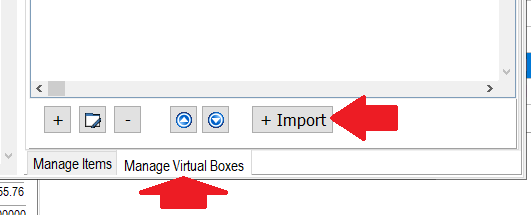
- Configure Virtual Boxes via the 'Manage Virtual Boxes' tab
Manage Virtual Boxes
On the 'Manage Virtual Boxes' tab, click the edit button to enter/edit box information
 | Add a new box |
 | Edit an existing box |
 | Remove a box |
 | Move a box up/down in the list |
 | Import boxes from spreadsheet |
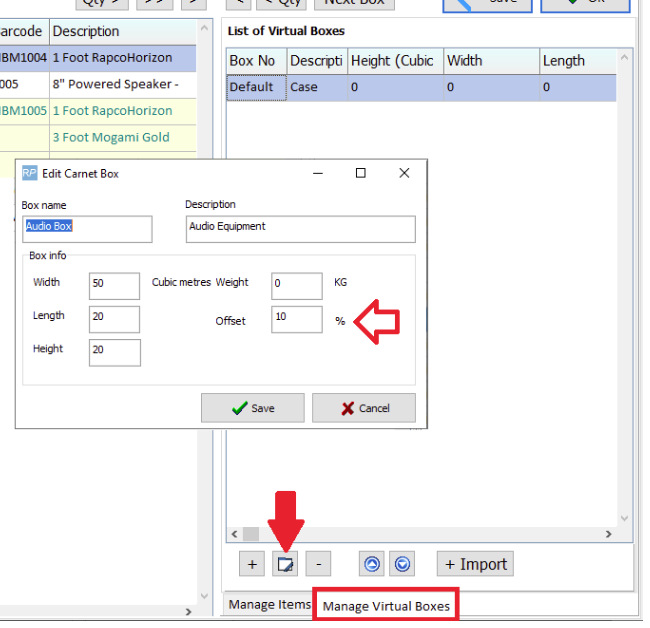

- If the weight for the box is left at 0, the weight will be calculated based on the items within the box.
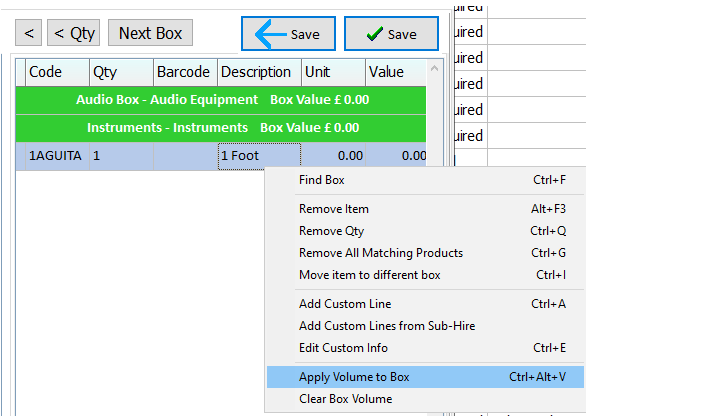
- The dimensions (width, length, height) can be entered here or we can pick an item within the box and apply its dimensions here (i.e. apply the dimensions of a road case).
- Offset % is displayed beside the box value when managing virtual boxes
- The volume of the box can be cleared (product untagged) by selecting the ‘Clear Box Volume’ option from the same menu.
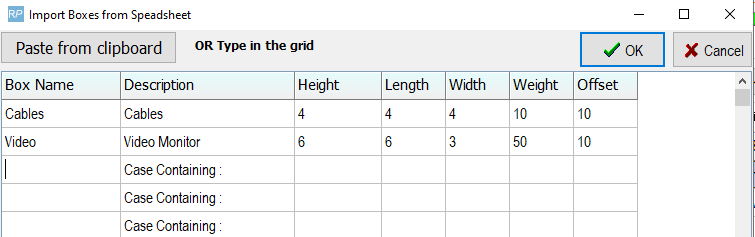
Import Multiple Boxes
Choose 'Paste From Clipboard' to copy/paste from an Excel File
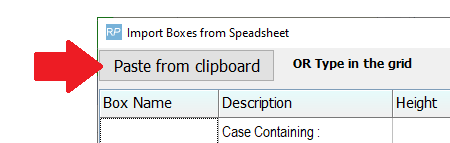
OR Enter a new box by adding a box name(s) in the grid provided (only lines with a box name will be added). Then click OK.
Manage Items/Adding items to a box
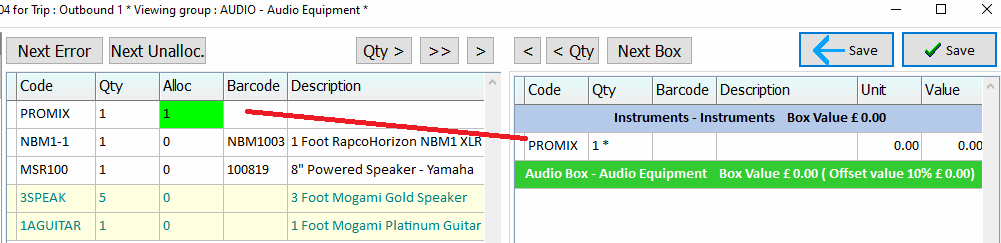
Select a box on the right side of the screen and use the arrow buttons to move items into it OR double click on the line or right click on the left grid and select from the menu options
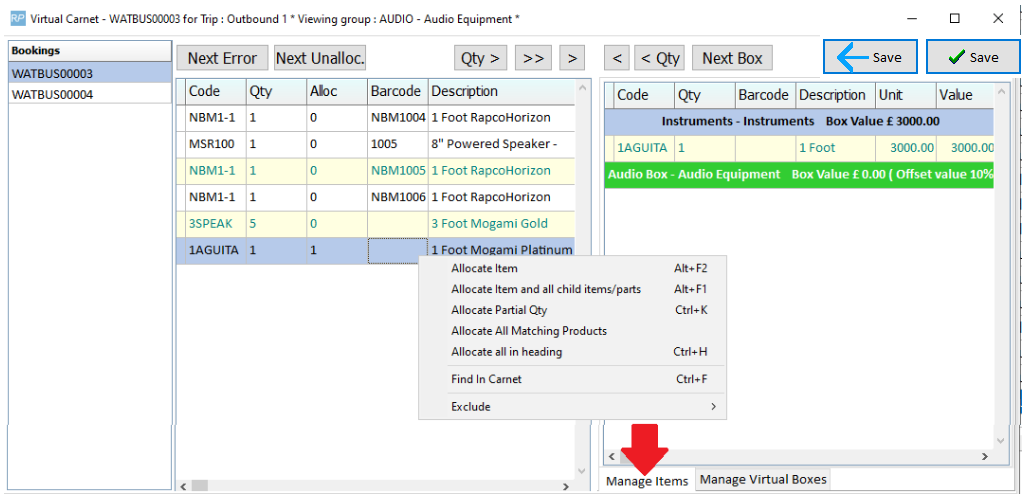
Progress:
- The
 column will display the number allocated
 - The
 column will show green in colour if the line is complete
 - The box value (outlined below) is updated as you move items into it.
 column will display the number allocated
 column will show green in colour if the line is complete
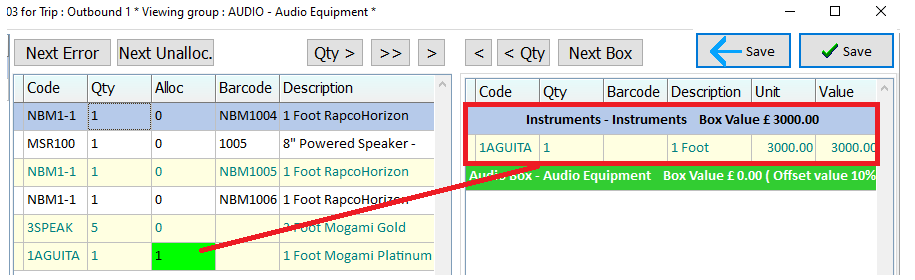
 | Move only part of a line (you can use this if you need to split a line between different boxes). |
 | Move an item along with its parts: click on the parent or part item and click the >> button |
 | Move a line item |
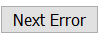 | Move to next error in the carnet (errors can appear with gear returned to the booking that needs to be removed from the carnet. This button will move to the next unallocated line if no errors are found. |
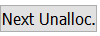 | Move to the next unallocated line |
Roadcase Entry Order
Items will now always be placed into the carnet box in the same order as in the booking, regardless of the order selected by the user.
Sub Hires/ Cross Rentals
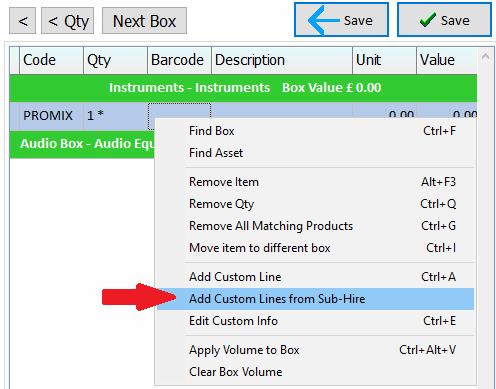
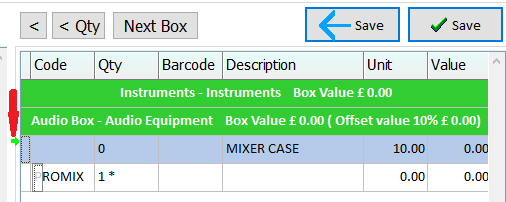
Lines in the carnet that have a * next to the qty when added to a virtual box indicate that the line is a sub rental.
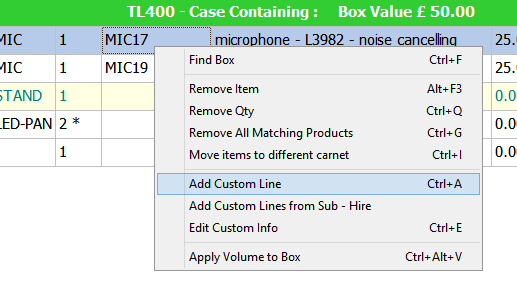
Right-click on the item and select ‘Add Custom Lines from Sub hire’.
- This will display any extra items from the sub hire PO that don’t have a corresponding item on the booking. These can be added as custom lines. (Note: if you select ‘Add custom lines from a sub hire’ on a line without an * you can select from a list of all the sub hires on the booking)
Check the items you want to add and click OK
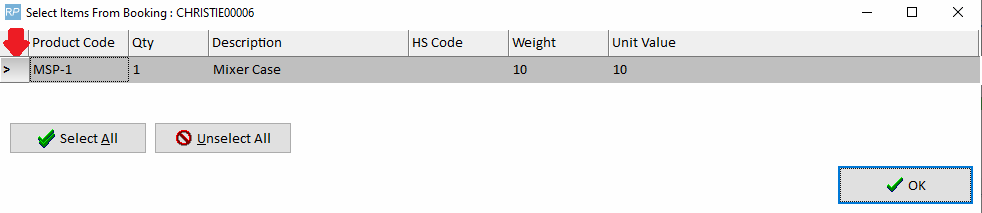
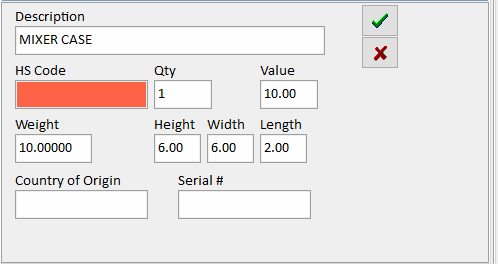
The item has been added but currently displays in red. Double click on the line to add the needed information.
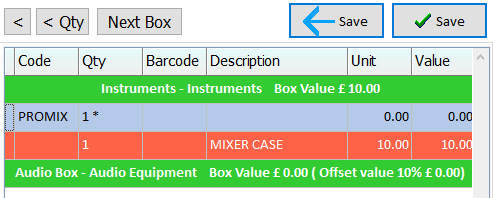
Field in RED must be populated. The HS Code is missing for this item so it needs to be entered here.
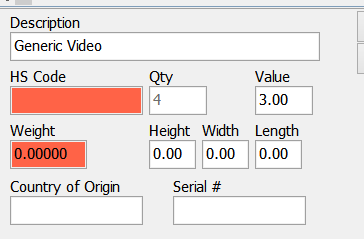
When a generic item is added to a box it will show in red as well indicating there is more information needed. Double click to edit it like a custom line and enter the missing information.

Essential information for custom/sub hire or generic lines include HS Code, Description and weight. If any custom line types are missing this information the ‘Complete’ status will show as NO.
 The Harmonized Commodity Description and Coding System, HS Code for short, is a common standard worldwide for describing the type of commodity that is shipped. Every commodity that enters or crosses most international borders has to be declared to customs using this code. Thus, the code helps to standardize and identify cargo in the same manner whether it is in Singapore, Mali or Rotterdam. For Inventory items the HS Code is stored against the Product under the 'unit specifications' tab.
Custom Lines
To enter a custom line not associated with a sub hire, right click and select ‘Add Custom’
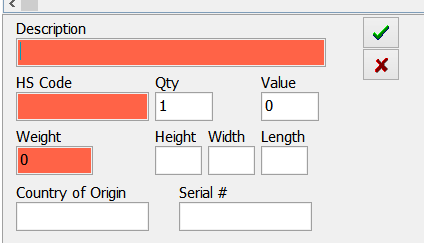
Then enter the details
Re-Ordering Items
Items can be re-ordered within the box or dragged to another box. First click the item to highlight it, then hold the mouse down to drag the item (you will notice a green arrow appears as you move the item)
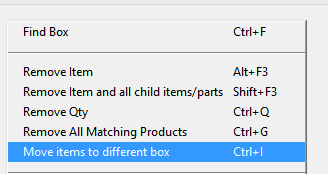
Items can also be moved to a different box by right-clicking on the line and selecting / move items to different box
Exclusions
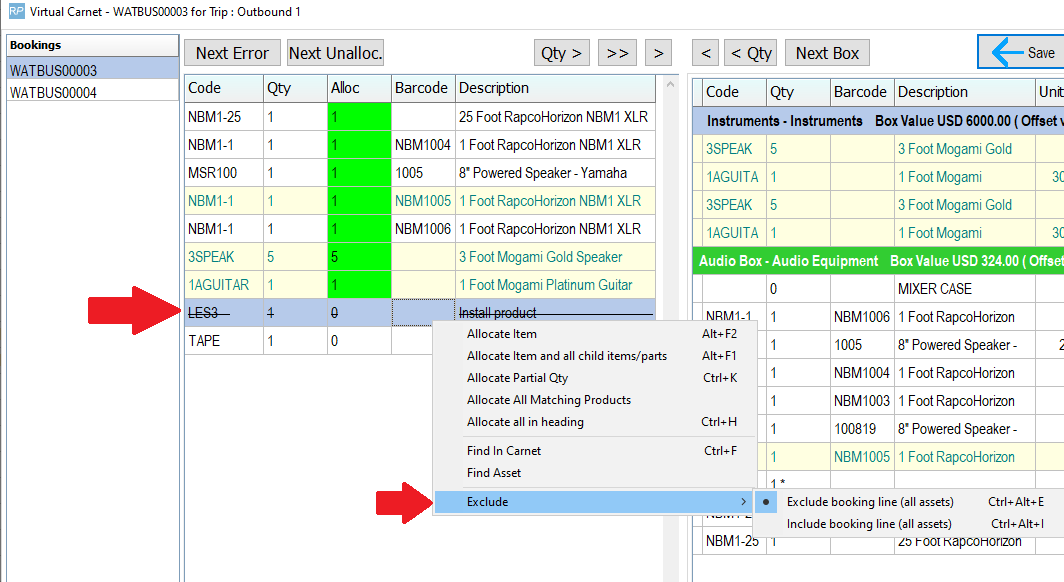
Specific lines in a booking can be marked as 'excluded' from the carnet, so it can’t be added to the report and won’t be counted in the 'Carnet complete' calculation.
To exclude a line, right click on a row in the booking/left side grid and select ‘Exclude booking line’ from the exclude sub menu. This will affect all the assets associated with the particular booking line.
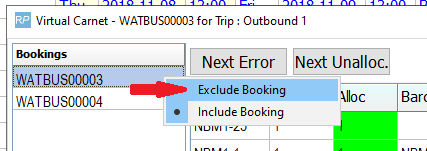
An entire booking can also be excluded from a project.
Right-click on the left side booking list and select ‘Exclude Booking’ from the menu.
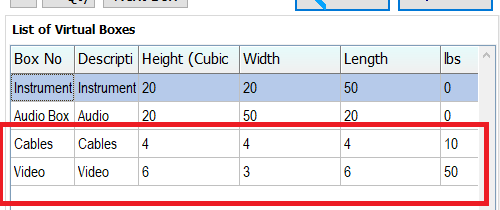
Managing Returned Items
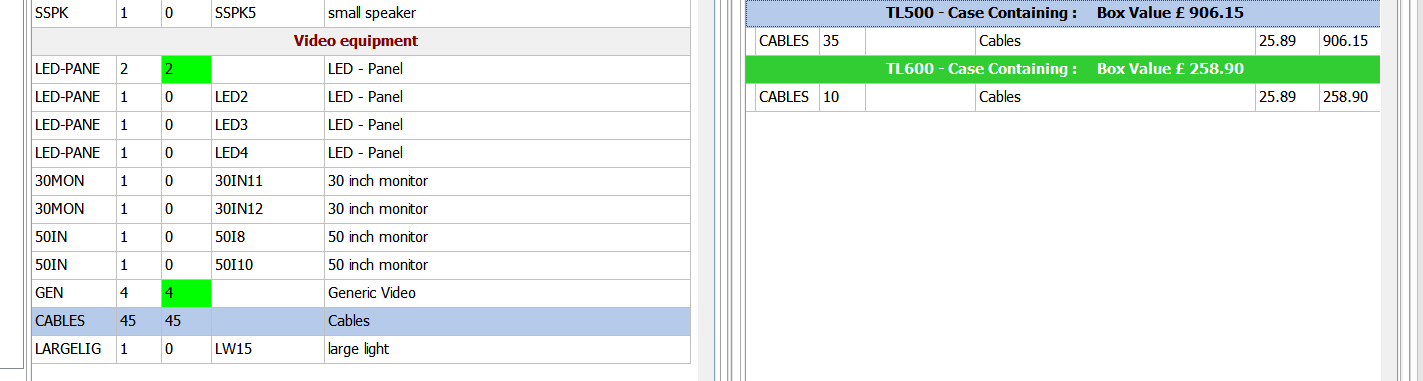
If asset tracked items are returned, they will automatically be removed from the carnet. Non-tracked items that have more than one quantity on the line must be adjusted manually. In the example below 50 cables have been broken up between two boxes.
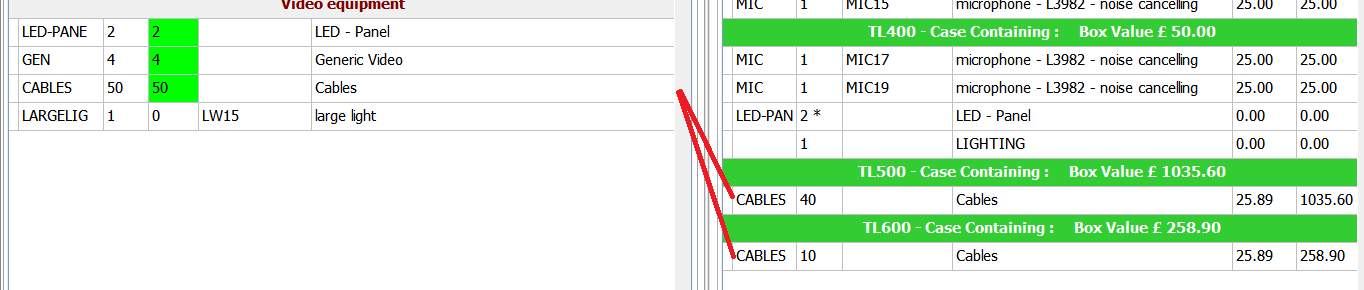
After returning 5 cables the ‘Complete’ status of the carnet will be set to 'No'
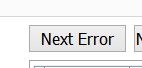
When editing the carnet, click ‘Next Error’ to find the line that has too many items allocated

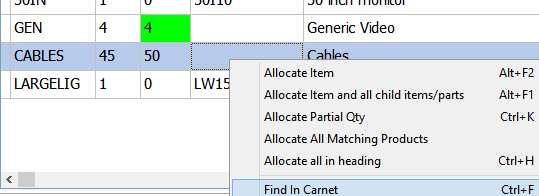
Right click on the line and select the ‘Find in Carnet’ option to find the box it’s in.
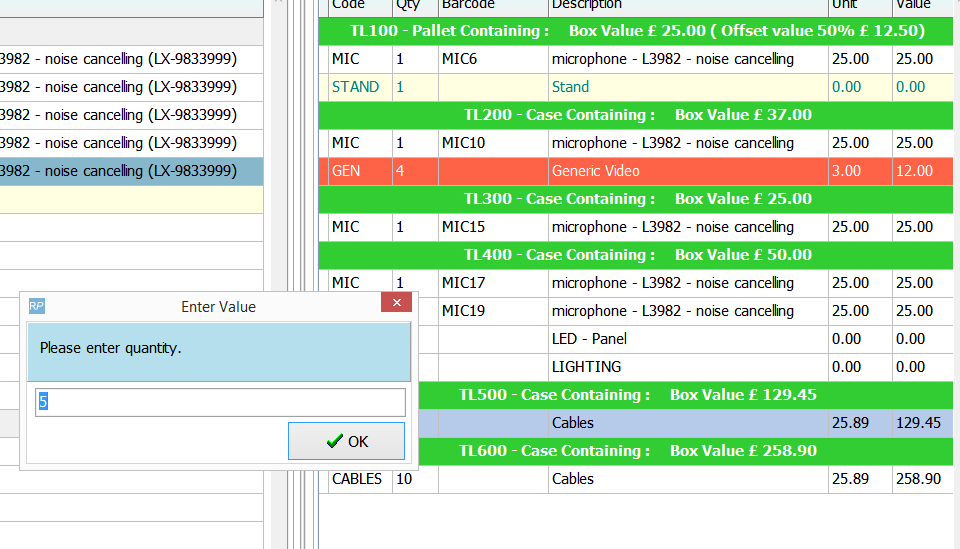
Click the < Qty button to remove the extra items and correct the error.
Completing the Carnet
 | saves the carnet and moves the user back to the previous screen |
 | located at the bottom of the first screen will check to see that all items from the booking have been allocated to the carnet (or excluded by a user) |
If you're having trouble completing the carnet due to errors, try the following:
- Ensure all generic items and sub rentals have been assigned an HS Code.
- Remove any non-tracked returned items from the carnet (barcoded items are removed automatically)
- Ensure all items have been allocated - try using 'Edit All' to locate hidden items if needed.
Printing the Carnet
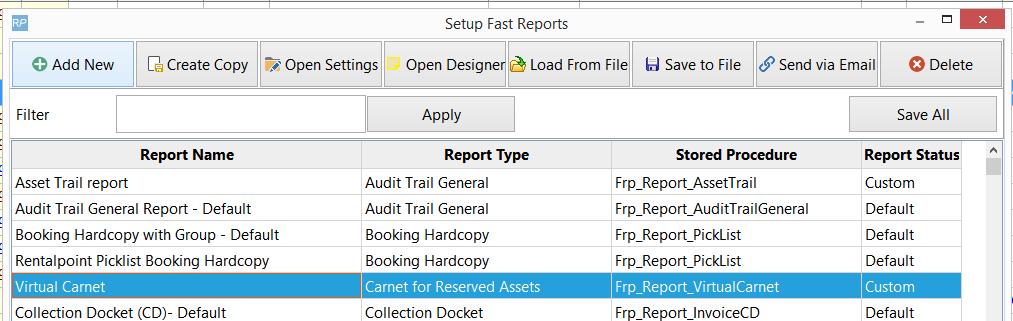
First ensure that the Virtual Carnet.frtpl (or custom fast report) has been installed in Setup -> Fast Report menu
contact support@rentp.com if you have trouble finding this report. You'll also need operator privileges, contact your RentalPoint system administrator or see 'Operator Privileges' section below for more details.
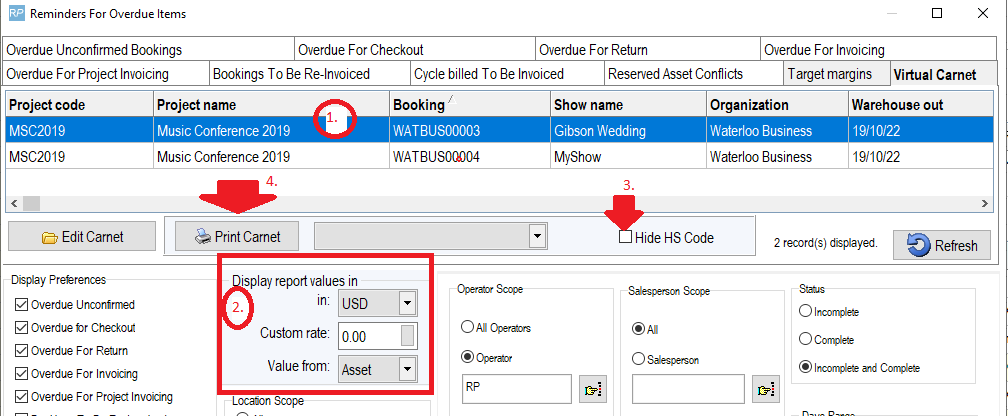
From the 'Reminder for Overdue Items' window:
- Select a booking/project
- Select the report values
- Select the currency the report should appear in
- Entering a value in the Custom Rate box before printing the report will override the fixed currency rate and apply the chosen rate to all prices.
- Choose to show values on the report from the Product or Asset record.
- Click to hide/show the HS Code on the report
- Click the 'Print Carnet' Button
Save to CSV
To Save the report to a csv or PDF file, first print the Carnet as outlined above, then click Display.
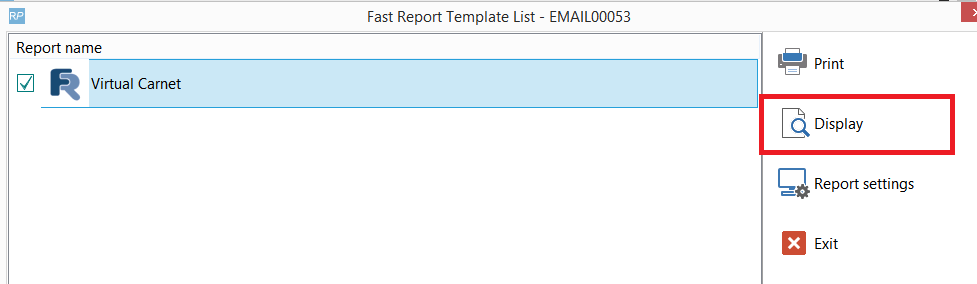
Then choose from the options on the right side of the window.
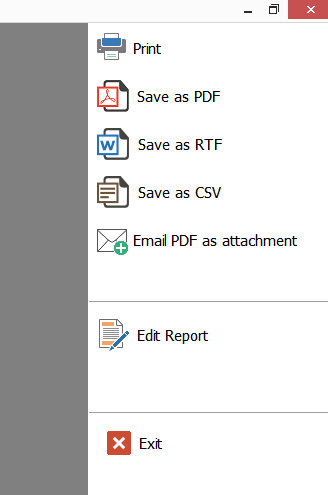
Once saved to a file the carnet will be attached to the project or booking in the job reports folder.
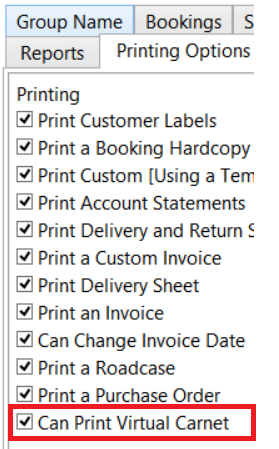
Operator Privileges
'Can Edit virtual Carnet' - allows the user to add/remove items from the carnet

'Can Print Virtual Carnet' - Allow users to print the carnet